Whether you’re a well-versed photographer or an iPhone user, you’re probably looking forward to capturing stellar underwater shots during your visit to Maui. Well, snapping the perfect underwater image is easier said than done. Underwater photography is a tricky thing to tackle. However, a bit of preparation and knowledge can make a world of difference, whether you’re using a DSLR camera, iPhone, or GoPro. Before we dive into the more technical tips, let’s go over a few basic prerequisites for underwater photography.
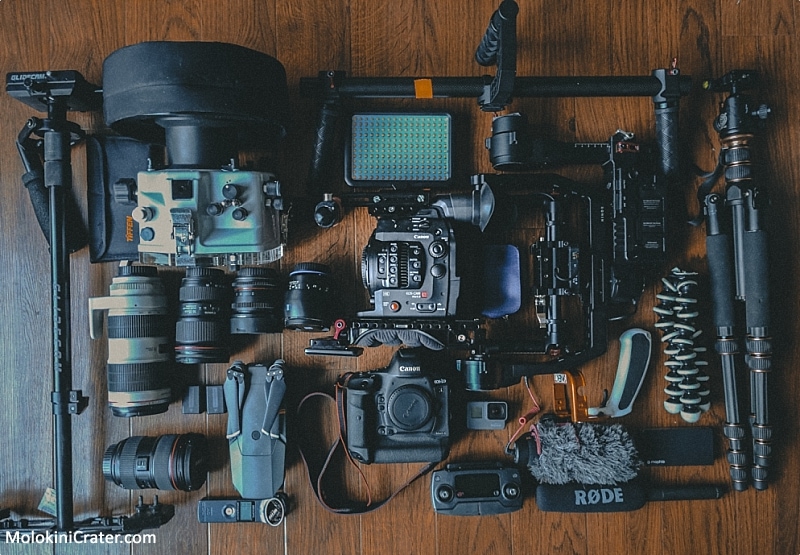
Below we’ve put together a collection of tips and tricks to help you get the most quality out of your underwater photos.

Tips For Taking Great Underwater Photos
Swimming Skills
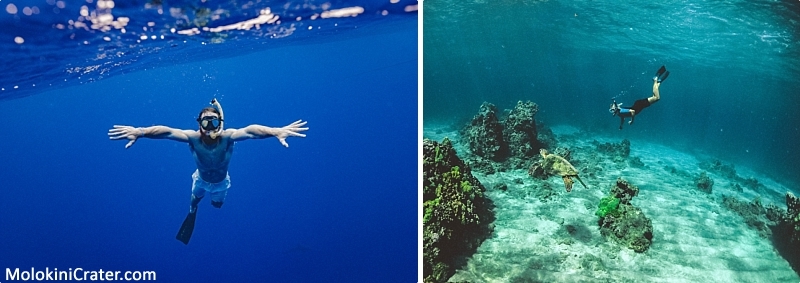
First off, good swimming skills are essential. Underwater, you’re constantly battling the currents and tides. Gaining control of buoyancy and learning to move slowly are imperative to underwater photography. However, these skills take time to master. If you’re not adept in these areas, try to practice taking photos in a pool before your trip.

Light And Color
Light behaves much differently underwater than on land. Shooting when the sun is at its highest point (between 10 am and 2 pm) can help your underwater photos look more vibrant. Shooting in the early morning, late afternoon, or on cloudy days can leave your images looking dull.
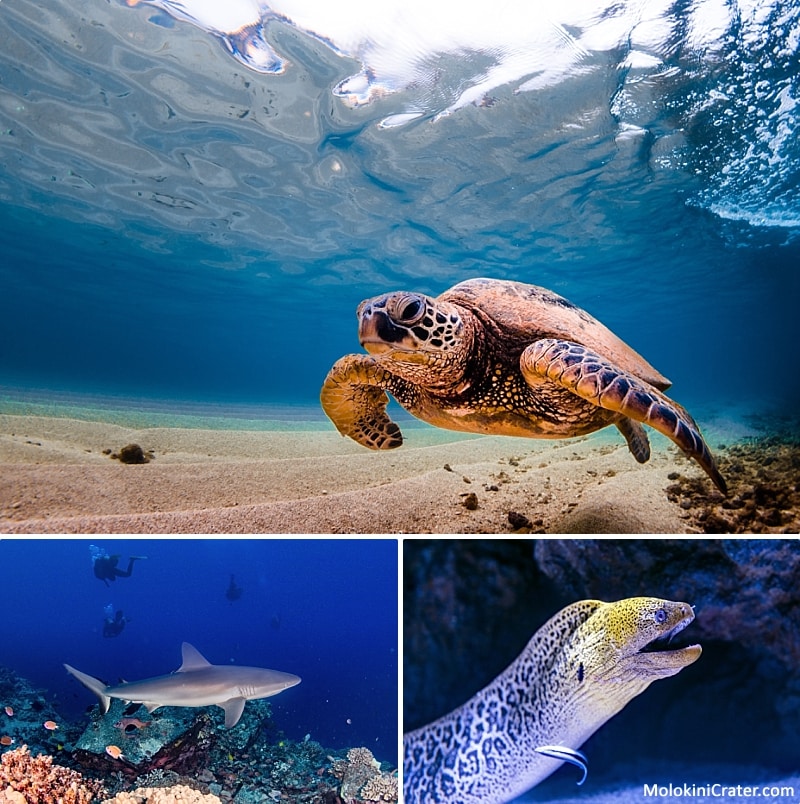
It’s also important to note that water absorbs brightness and colors the deeper you go. Shooting in the shallows (less than 10 feet) makes for the most vibrant, detailed photos. Red vanishes at 20 feet, followed by orange and yellow. At 70 feet, green is gone, leaving only different shades of blue. Consider investing in artificial light or a color-correcting filter if you’re diving below 10 feet.

Subject
One of the biggest rookie mistakes in underwater photography is shooting down. Shooting down almost never results in good photos. Ideally, you want to be at eye level and in close range of your subject – between one and five feet.
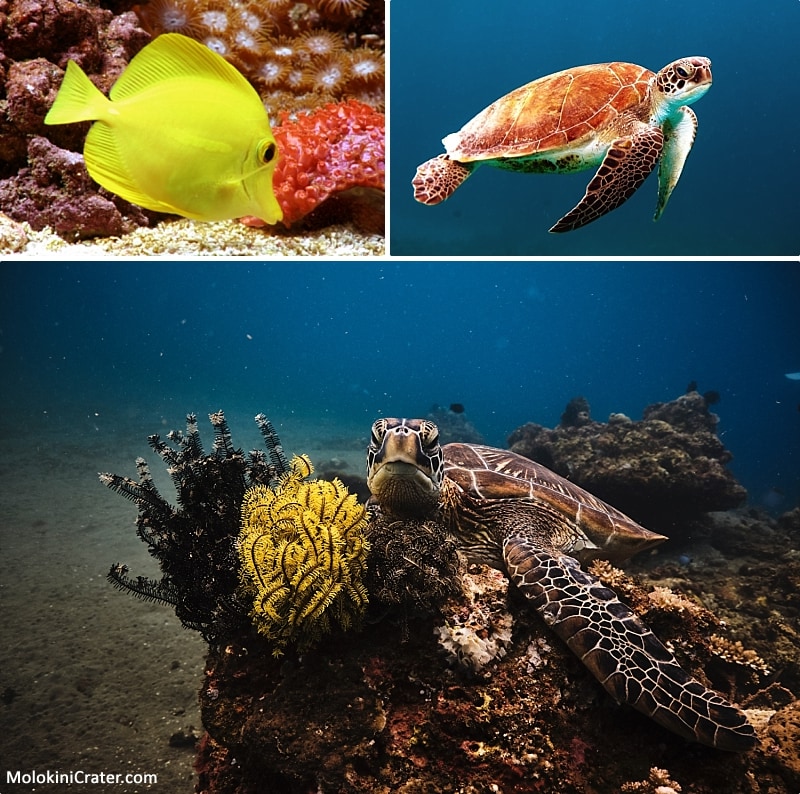
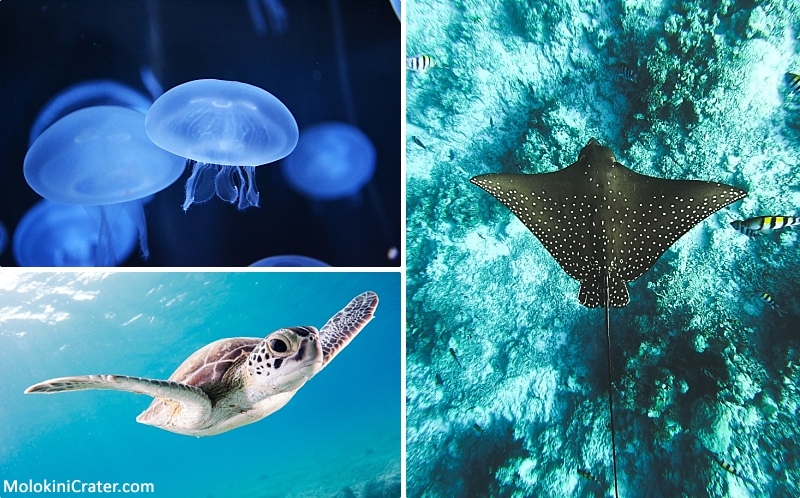
If you’re hoping to shoot animals like rays, dolphins, or turtles, do not, by any means, approach, harass, touch, or pursue them. If you’re patient, a curious animal might come to check you out; only then can you snap a quick photo. Harassing, approaching, or touching protected animals in Hawaii is punishable under state and federal law. Also, keep in mind that it’s vital to avoid touching or stepping on corals when shooting reefs. Lastly, regardless of your subject, visibility is critical. Unfortunately, there’s no editing fix for shooting in murky water.

Editing
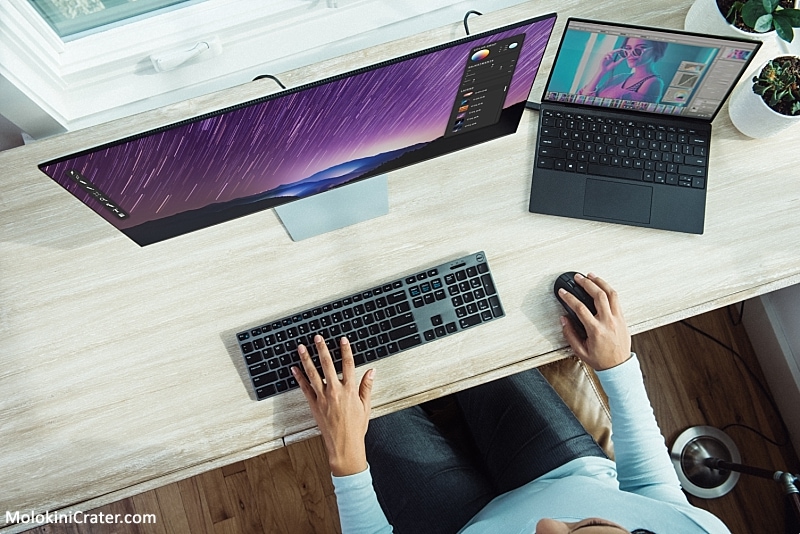
Even if you do everything right, some editing might be necessary to spruce up your photos. Using your editing software, you can use the temperature toggle to warm up cool images. Additionally, upping the saturation will brighten the colors, and increasing contrast will give the image more shape and definition. Decreasing the highlights on photos with intense glare will decrease the glare without affecting the darker areas of the image.

Now, let’s break into different types of cameras and tips on capturing excellent images with each one.
iPhone Photography
It’s no secret that the newest iPhone models can take unbelievable photos, but underwater it’s an entirely different ball game. Although iPhone 12 and up might be water-resistant, they are far from being waterproof. Before taking your iPhone along on your snorkel tour, be sure to invest in a solid waterproof case, and test it before use. If you’re scuba diving, choose a case that fits your needs, as some might not be suitable for more profound depths. Let’s dive into the essential underwater photography tips for iPhone users!
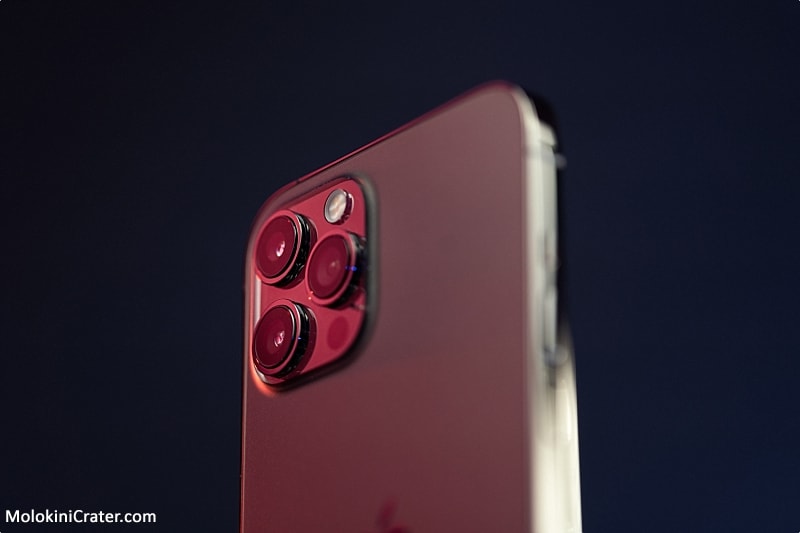
● It’s important to remember that the touch screen on iPhones won’t work underwater. Before you jump in, get comfortable using the volume buttons to take photos. It can be an adjustment, and if you’re bent on getting the best possible shot, consider practicing before your trip.
● Before entering the water, make sure your phone is set to airplane mode so you don’t receive unwanted calls or texts. Then, adjust your screen so it won’t turn off while underwater. Again, iPhone’s touchscreens won’t work while submerged, so you don’t want to have to deal with trying to input your passcode underwater. To do so, go to Settings / Display & Brightness / Auto-Lock / Never.
● Use distance to focus. Since you can’t adjust the focus or exposure underwater, focus your iPhone on the furthest object in your frame of view before going under. This trick can combat out-of-focus images and provide more detailed, sharper photos.
● iPhone camera accessories can elevate your images. A waterproof wide-angle or fisheye lens can do wonders for your photos. People will never believe you took them on an iPhone!

GoPro Photography
While the latest GoPro models produce fantastic quality videos, underwater photos can be hit or miss. If you’re a GoPro user, investing in a newer model is the easiest thing you can do to upgrade your photos. Make sure to clean your lens and housing before and after each use. Salty specks or streaks can bring the image quality down. What else can GoPro users do to ensure their photos turn out stunning?
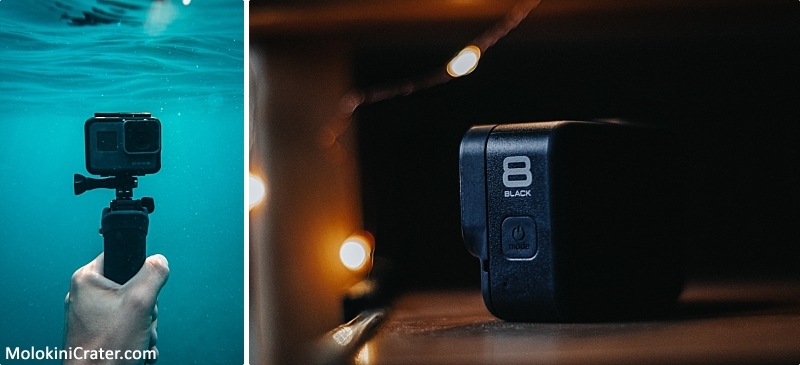
● Invest in a stabilizer tray. These days, GoPros are outfitted with in-camera stabilization. However, some photos and videos can still turn out a bit shaky. A stabilizer tray will help make your photos and videos look professional and extra smooth. Plus, they’re relatively inexpensive.
● Shoot in RAW format. Content shot on your camera’s RAW setting will save images as GPR files rather than JPG. GPR files give users higher-quality photos and more freedom when editing. If you choose to work with RAW files, you’ll need to upload the images directly to an editing program that can support GPR images, like newer versions of Lightroom, Photoshop, or Adobe Camera Raw.
● Shoot in burst mode instead of taking single images. Burst mode is available from the Hero 8 model onwards. There are multiple burst settings to choose from, but the ten photos over three seconds option will yield the best results. Shooting over three seconds gives photos more variety, as frames will differ a lot more in three seconds compared to one. It should also be noted that when shooting bursts in RAW mode on the GoPro Hero 9, photo processing can take up to 45 seconds- which is a long time to have to wait to take another photo, especially when shooting marine life. Consider sticking to JPG files if you’re working with the Hero 9.
● Pick up a dome for awesome over-under shots. Domes are reasonably priced and can take fantastic split shots. To avoid water droplets or salt streaks showing up in your photos, give the dome a quick dunk just before you capture an image.

Professional Camera – DSLR, Mirrorless
If you’re a well-versed photographer looking to break into underwater photography, you probably realized quickly that water housings are no small investment. The following tips can help you get the best results with your housing.
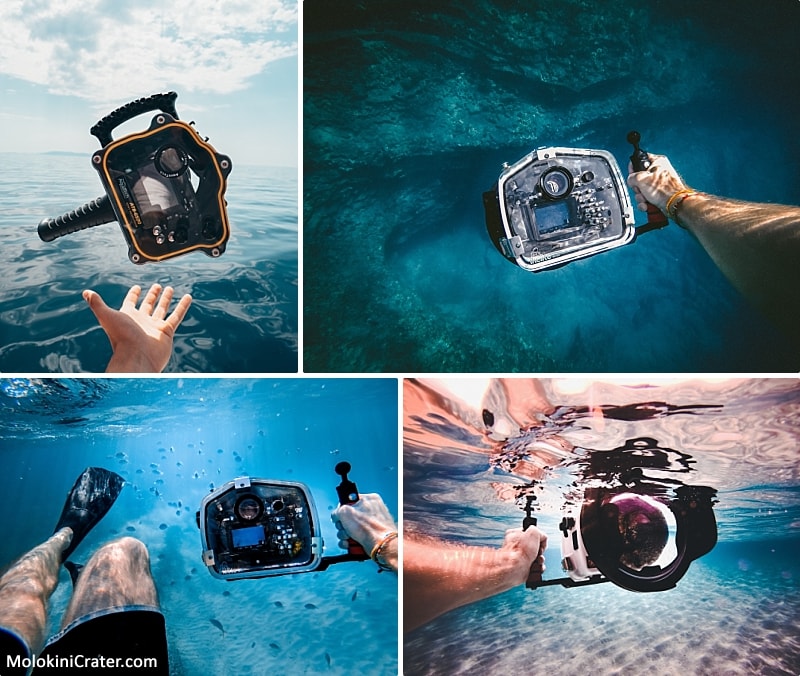
● Practice swimming with an empty, weighted housing in shallow water before taking photos in deeper water. Getting a feel for swimming with your housing amid the rhythm of the ocean will make you feel more comfortable.
● Focus more on choosing the right accessories than the perfect camera. Having the right lens will make a world of difference compared to a high-quality camera that is not set up correctly for underwater photos. Macro lenses and wide-angle lenses are good places to start for beginners.
● Take shutter speed into account. Shutter speed is an impossibly tricky issue when taking underwater photos. You’ll get more light at low shutter speeds, but your photos might turn out blurry. A higher shutter speed will yield clearer images but turn out dark. Try using a high ISO setting, a medium shutter speed, and a strobe. This setup will help capture more light while keeping your subject in focus.
● When using a strobe underwater, avoid backscatter by aiming the light correctly. Backscatter is caused by a camera flash reflecting particles in the water, causing images to be littered with tiny orbs of light- and it is one of the most frustrating things underwater photographers have to deal with. The most surefire way to combat this aggravating phenomenon is by holding the light above the camera and aiming the strobe arm down so that the particles won’t light up in front of the lens.
● If you’re serious about underwater photography, consider taking a workshop. Maui’s coral reefs and impossibly clear seas make the island one of the best places in the world for underwater photography. Several local companies offer diving/photography workshops, and it’s a great way to up your photography game with help from the pros.


You are so right about choosing the right time at noon for underwater photography. It worked great when we tried.